A lightweight screen annotation tool for macOS and Windows. Draw on top of anything on your screen, then switch back to clicking through to the apps underneath, without losing what you drew. On iPad and Android tablets it installs as a web app for drawing on a board or on a photo.
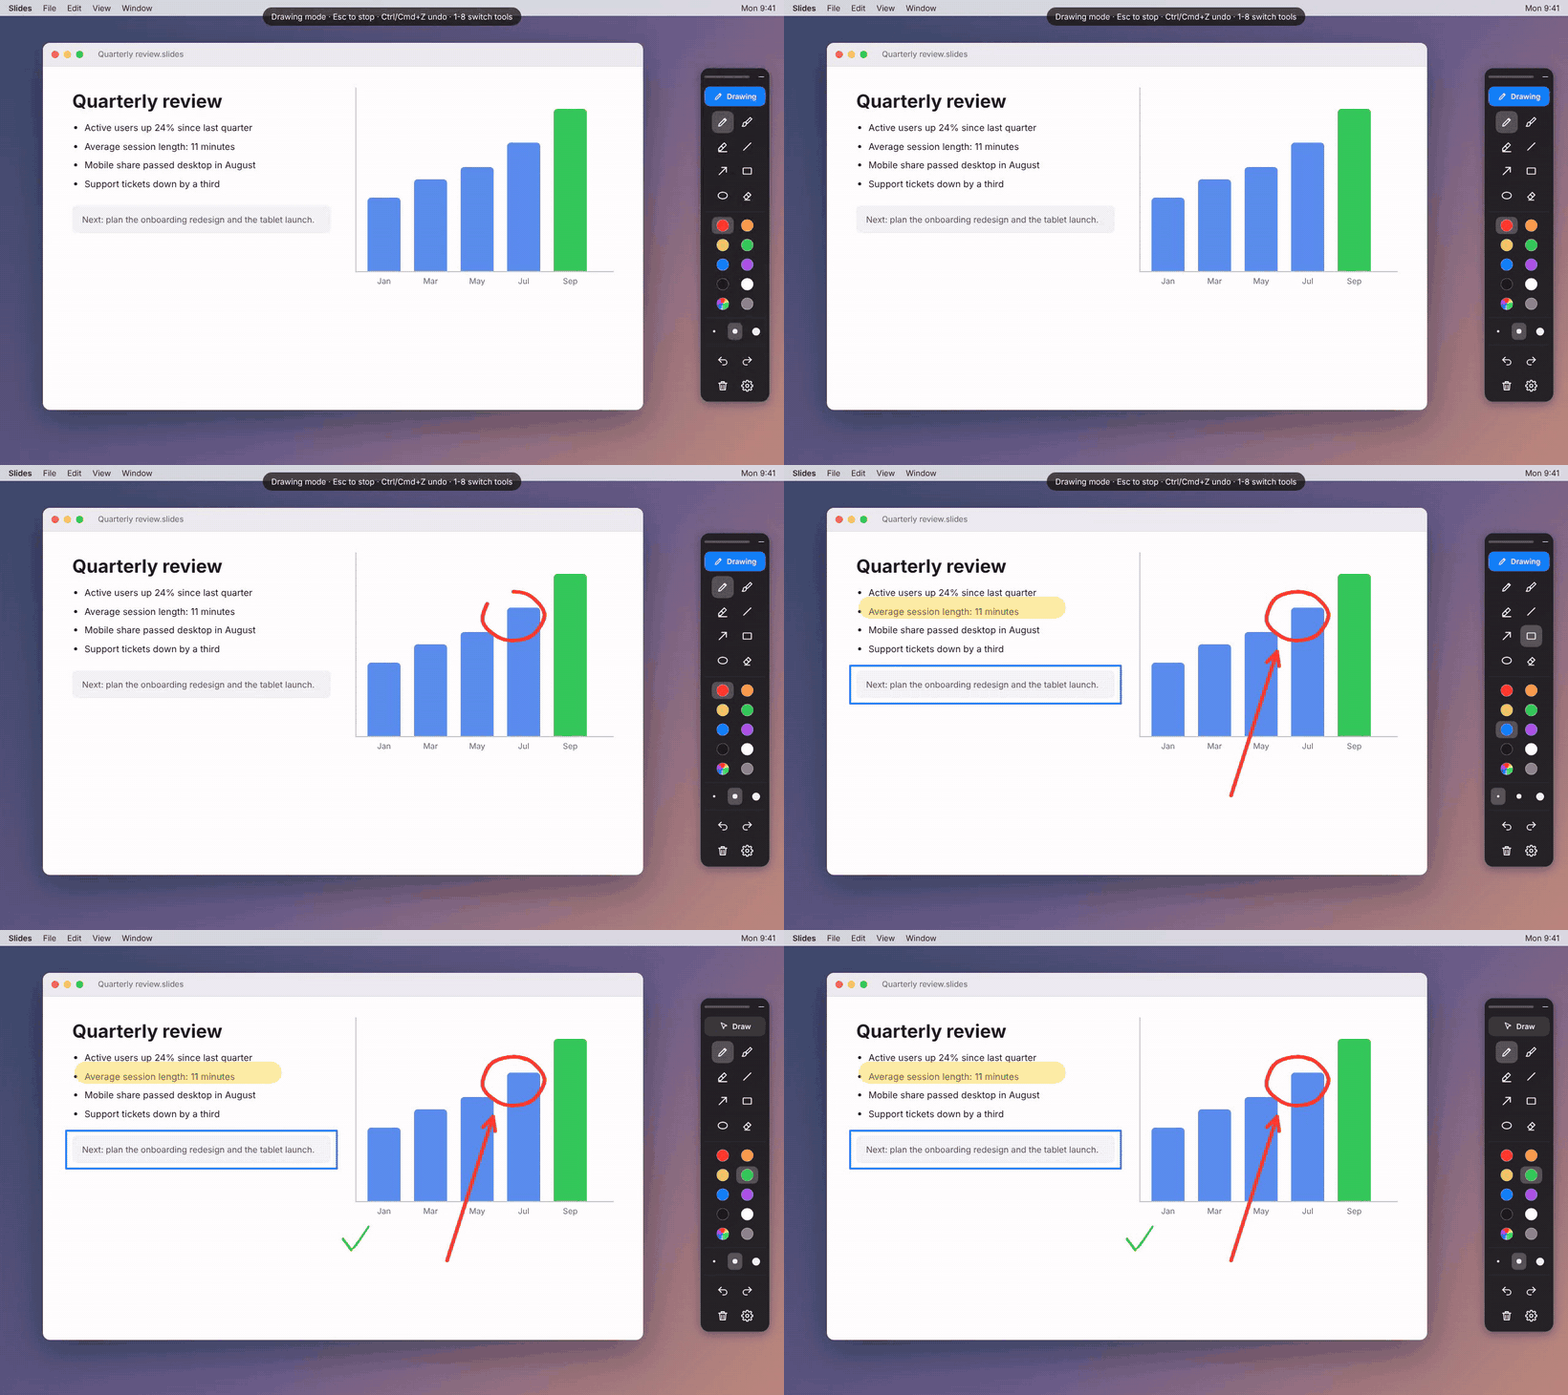
Built with Tauri 2: the drawing engine is TypeScript on an HTML canvas, and the native shell is Rust using the operating system's own web view (WebView2 on Windows, WKWebView on macOS). No browser engine is bundled, so the app stays small and light on memory.
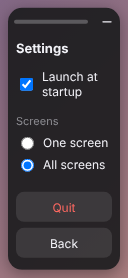
Status: steps 1 to 3 of the development plan, plus parts of 5 and 6: overlay with click-through, floating toolbar, pen, brush, highlighter, line, arrow, rectangle, ellipse, eraser, colors including rainbow, three thicknesses, undo/redo, launch at startup. Text boxes, auto-erase, selection and image export come next.
Install
git clone https://github.com/hagdmk/draw-on-screen.git
cd draw-on-screen
Then run the one file for your system:
| System | Run | Requirements |
|---|
| Windows 10 (1803+) / 11 | Double-click run-windows.bat | None |
| macOS 11+ (Apple Silicon or Intel) | Double-click run-macos.command | None |
The launcher downloads the latest prebuilt app from Releases, checks its SHA-256 checksum, installs it for your user account (no admin rights), and starts it:
- Windows: installed to
%LOCALAPPDATA%\Programs\Draw on Screen, with a Start menu entry and a desktop icon. - macOS: installed to
~/Applications, so it shows up in Launchpad and Spotlight.
After that, start it from the icon like any other app. To update, git pull and run the launcher again. To remove everything, run it with --uninstall.
If you downloaded the repository as a ZIP instead of cloning it, macOS drops the executable flag. Restore it once:
chmod +x run-macos.command
Using it
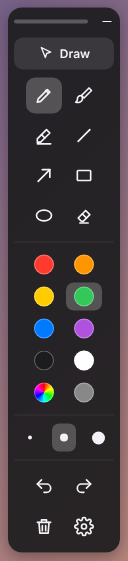
A floating toolbar appears at the right edge of the screen and in the taskbar (Dock on macOS), so you can always see that the app is running. Drag it by the bar at the top; the dash button minimizes it.
The toolbar, from top to bottom:
- Draw / Drawing: switches between drawing and click-through.
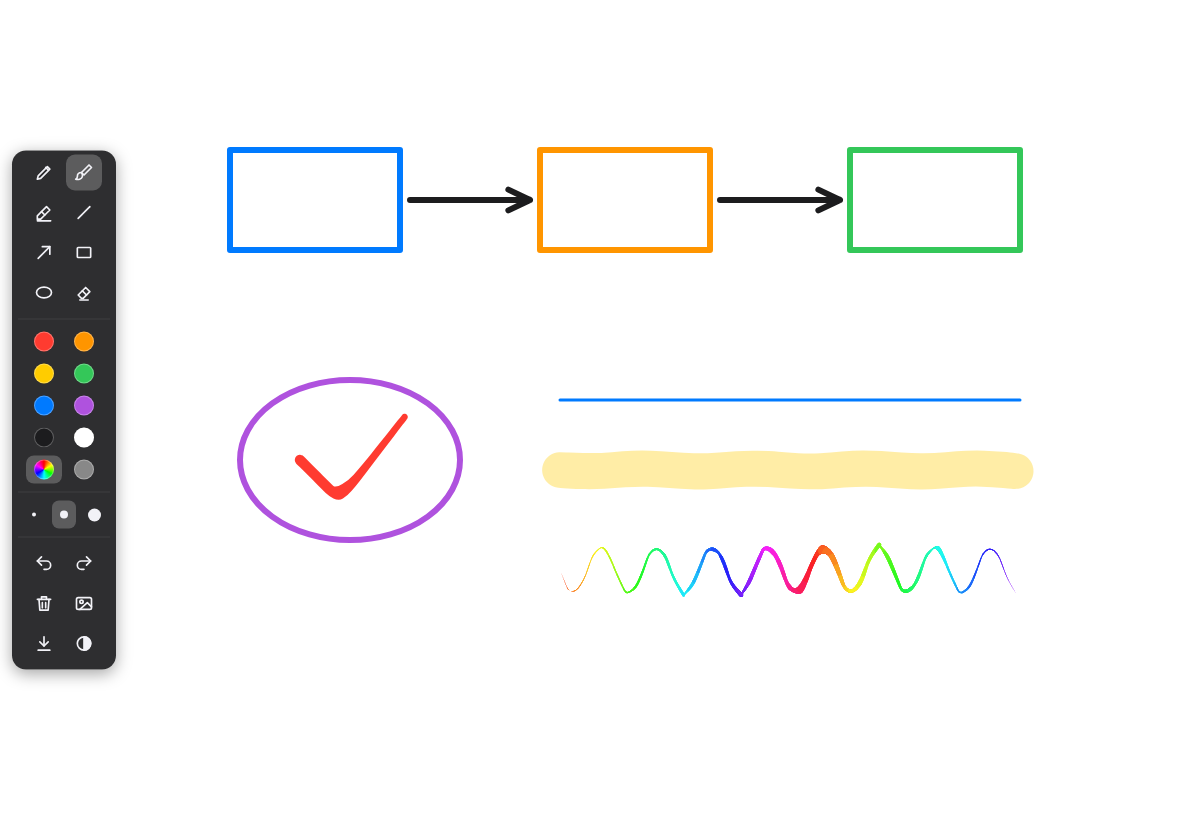
- Tools: pen, brush, highlighter, line, arrow, rectangle, ellipse, eraser (keys
1 to 8). - Colors: eight presets, rainbow, and a custom color.
- Thickness: thin, medium, thick.
- Undo, redo, clear all, and Settings (gear).
A typical session:
- Press
Ctrl+Shift+D (Cmd+Shift+D on macOS), or pick a tool on the toolbar. A "Drawing mode" banner appears at the top of the screen. - Draw over anything: circle a number, point with an arrow, highlight a line.
- Press
Esc or click Drawing to go back to click-through. Your drawing stays on screen, and the apps underneath work normally again. - Press
Delete while drawing, or the trash button, to clear everything.
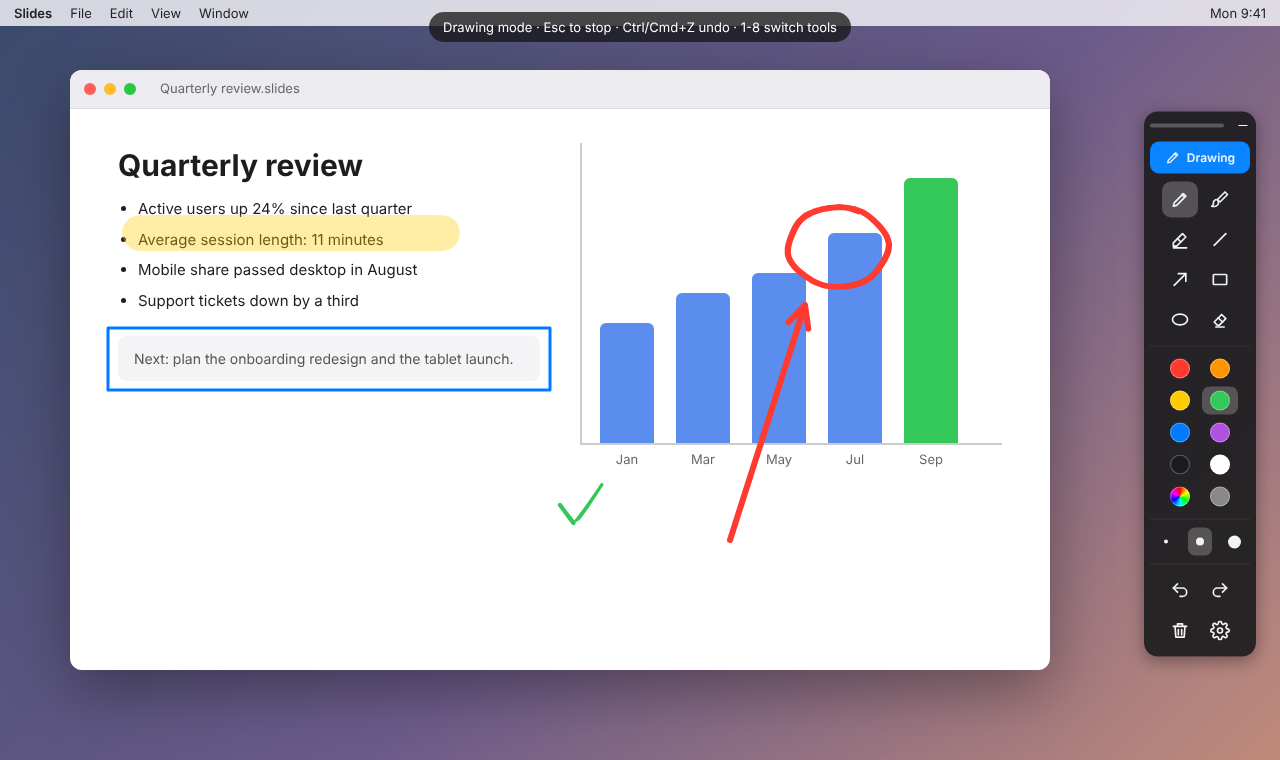
Screenshots and GIFs come from the app's own pages running in a browser. The desktop images show the real toolbar and drawing layer over a sample slide window, not a capture of an actual macOS or Windows desktop.
The tray icon (Windows notification area, macOS menu bar) has the same options plus Show toolbar.
Shortcuts
| Action | Windows | macOS |
|---|
| Start / stop drawing | Ctrl+Shift+D | Cmd+Shift+D |
| Stop drawing | Esc | Esc |
| Pick a tool (while drawing) | 1 to 8 | 1 to 8 |
| Undo | Ctrl+Z | Cmd+Z |
| Redo | Ctrl+Y or Ctrl+Shift+Z | Cmd+Shift+Z |
| Clear everything | Delete | Delete |
| Quit | Ctrl+Shift+Q | Cmd+Shift+Q |
Esc, the number keys, undo/redo and Delete belong to Draw on Screen only while drawing; in click-through mode they go to your other apps as usual.
Platform notes
macOS
- Drawing and global shortcuts need no special permission. Saving a screenshot that includes the screen behind your drawing (a later step) will ask for Screen Recording permission in System Settings > Privacy & Security.
- Launch at startup adds a Launch Agent in
~/Library/LaunchAgents. - The release app is ad-hoc signed, not notarized. Because the launcher downloads it with
curl, macOS does not mark it as quarantined and Gatekeeper does not block it. The launcher only downloads from this repository's releases and verifies the checksum first. - Transparent windows use Tauri's
macOSPrivateApi option, which means the app cannot be published on the Mac App Store. Distribution through GitHub is unaffected.
Windows
- WebView2 is preinstalled on Windows 11 and on up-to-date Windows 10. If it is missing, install the Evergreen Runtime.
- Launch at startup adds an entry under
HKCU\Software\Microsoft\Windows\CurrentVersion\Run; you can also see it in Task Manager > Startup apps. - The overlay cannot appear above games running in exclusive fullscreen. Windowed and borderless fullscreen work.
iPad and Android tablets
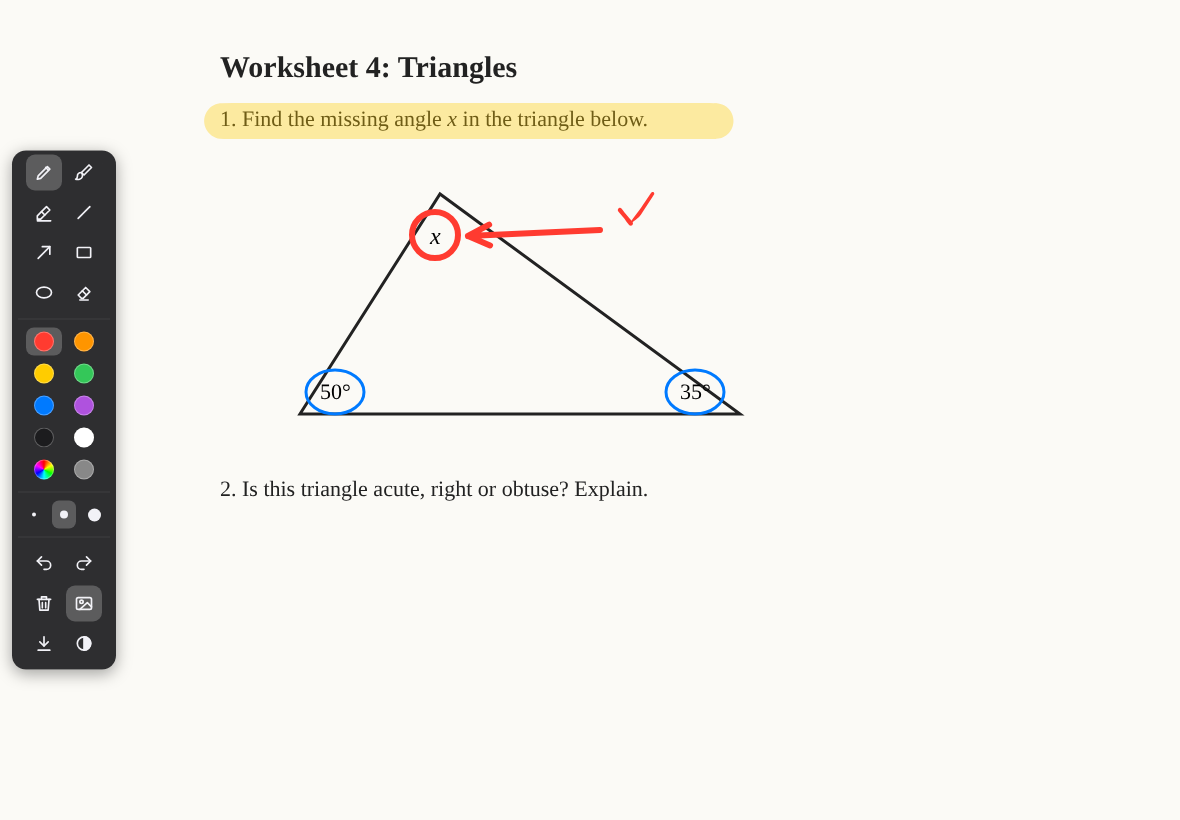
The tablet version is a web app with the same tools. Tablets do not let a web app draw over other apps (iPadOS does not allow it for any app), so it works as a whiteboard and for drawing on photos and screenshots.
Install it from https://hagdmk.github.io/Draw-on-Screen/:
- iPad: open the link in Safari, tap the Share button, then Add to Home Screen.
- Galaxy Tab and other Android tablets: open the link in Chrome or Samsung Internet, open the menu, then Install app or Add to Home screen.
It then opens full screen from its icon and works offline. Updates arrive on their own the next time it opens online.
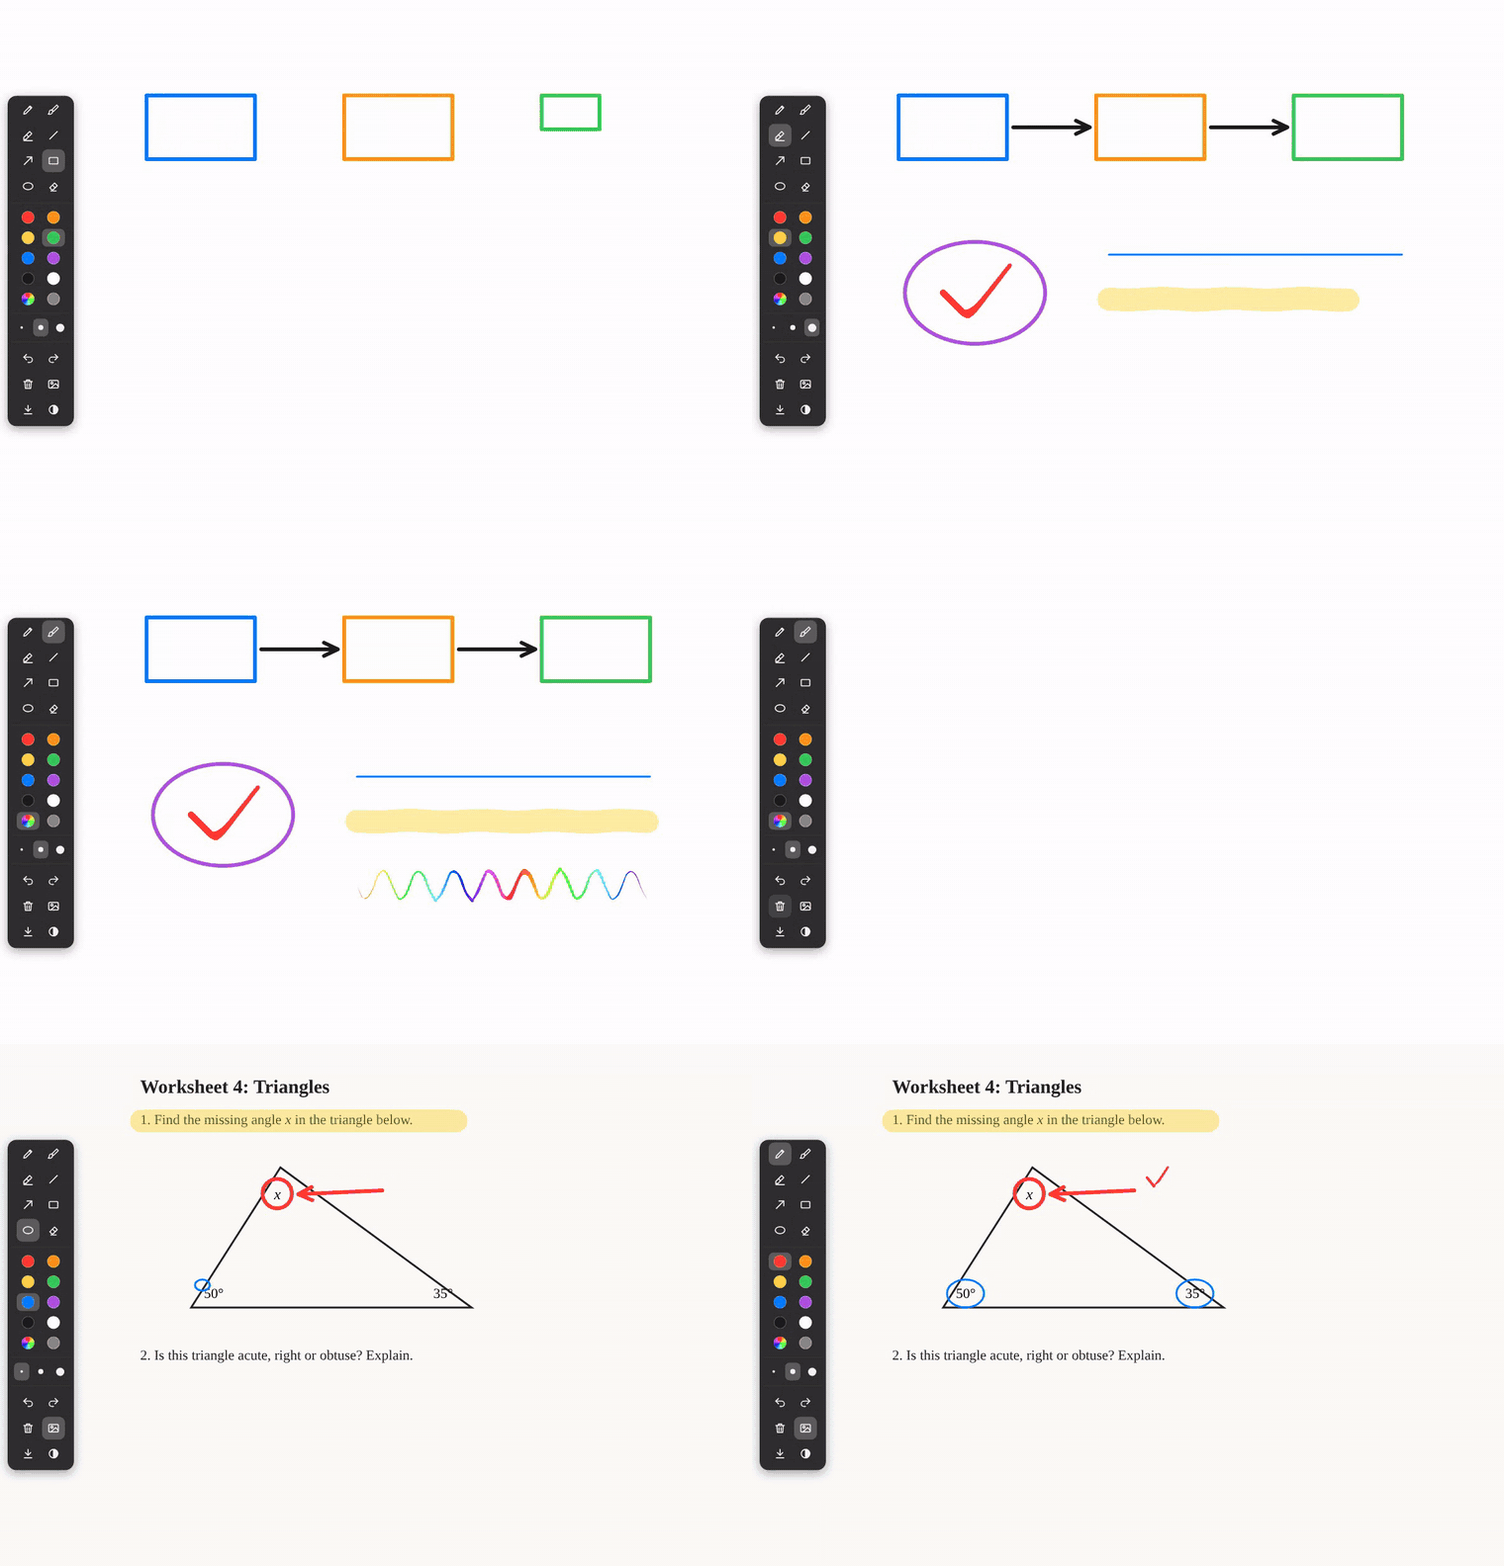
- Draw with Apple Pencil, S Pen or a finger. Once a pen has been used, touches are ignored so your palm can rest on the screen.
- Extra buttons: Add photo (tap again to remove it), Save as image (the share sheet offers Save Image or Files; elsewhere it downloads a PNG), and Board color (white or dark).
- The drawing is not kept when the app is closed; save it as an image first.
| Whiteboard | Drawing on a photo |
|---|
 |  |
Build from source
Requirements: Node.js 20+ and Rust. On Windows, Rust also needs the Visual Studio C++ Build Tools (rustup offers to install them). On macOS, it needs the Xcode Command Line Tools (xcode-select --install).
# Windows
run-windows.bat --build

# macOS
./run-macos.command --build
This builds the app and installs it the same way as a downloaded release. The launchers also fall back to building from source automatically when no release exists yet and Rust is installed.
Development
npm install
npm run dev          # Drawing engine only, in a browser at http://localhost:1420
npm run dev:web      # Tablet web app, at http://localhost:1421 (add --host to open it on a tablet)
npx tauri dev        # Full desktop app with hot reload
npm test             # Unit tests (Vitest)
npm run typecheck
Project layout
run-windows.bat        Windows installer/launcher
run-macos.command      macOS installer/launcher
src/
  core/                Shared drawing engine (no platform code)
  desktop/             Bridge to the Rust shell
  main.ts              Overlay page: input handling and rendering
  toolbar.ts           Floating toolbar page
  web.ts               Tablet web app: board, photo, save as image
web/                   Tablet web app page, manifest, icons and offline support
src-tauri/
  src/main.rs          Windows, click-through, shortcuts, tray, launch at startup
  capabilities/        Allow-list of what the page may call
  tauri.conf.json
tests/                 Unit tests for the drawing engine
.github/workflows/     CI, release builds and the web app on GitHub Pages
Releasing
- Bump
version in package.json, src-tauri/Cargo.toml and src-tauri/tauri.conf.json. - Push a tag:
git tag v0.1.0 && git push origin v0.1.0. - The Release workflow builds Windows (x64) and macOS (universal) binaries, writes their checksums, and publishes them. The launchers pick up the new version on their next run.
The tablet web app is published separately: the Web app workflow deploys it to GitHub Pages on every push to main. Turn this on once under Settings > Pages > Build and deployment > Source: GitHub Actions.
Known limitations
- Screens connected or disconnected while the app runs are picked up on the next launch.
- Whether the overlay shows above macOS apps in native fullscreen still needs testing.